Candles, in the past, were considered a necessity given that they
were mainly used as a source of light but today that is not the case.
Candles are seen more as something that adds a sensual look, feel and
fragrance for an occasion. With the candle moving from a basic necessity
has become an object of luxury and slowly to an art form. This is
because today, candles are created with many objectives in mind besides
the simple means of giving light. In fact, there is an art form that
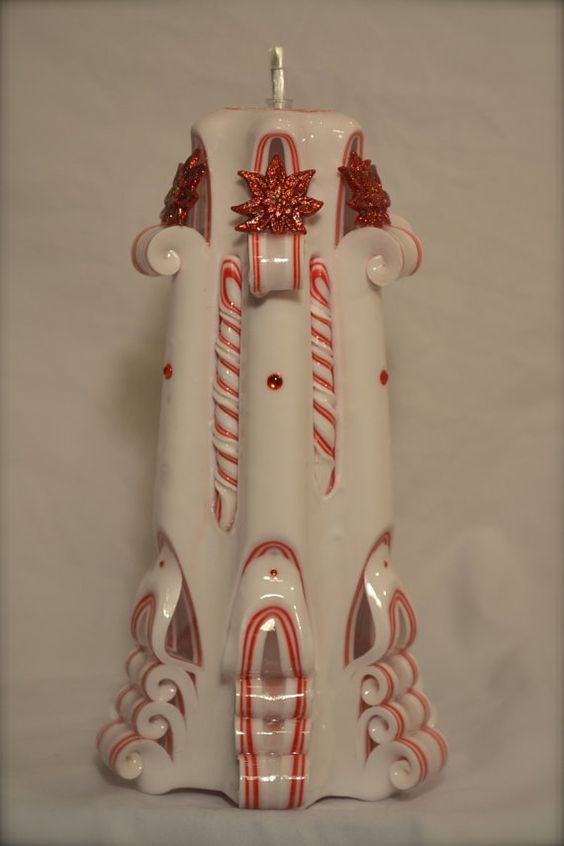
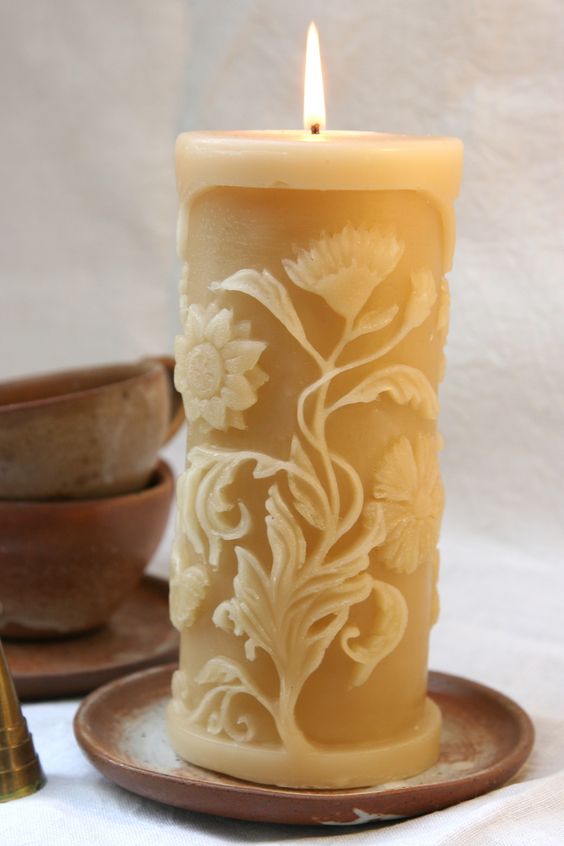
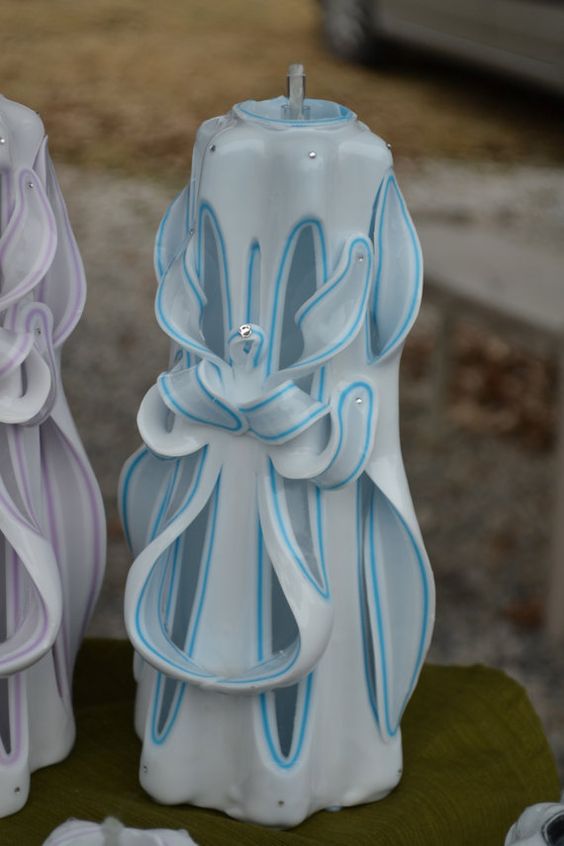
involves candle carving, which is what we are going to be looking at in
this article. The first aspect we would advise you to look at before
moving further would be to look at the art of candle making and gather some information about it. If you want, you can also study ways lanterns can give your home a magical touch so that you can use candles in pretty much the same way.


While there is no doubt that carving any material even if it is soft, malleable and often forgiving like wax that is used in candles, you do need a steady hand and some skill to be able to carve. There is a definite skill and creativity element involved in the carving of candles. Though some may think of it as similar to the art of soap carving, which is perfect for beginners and they are not entirely wrong in thinking that way. In fact, it would be easy enough for you to make the whole process of carving simpler for yourself by applying some of the steps that we have recommended.


Here are some tips and steps that you need to keep in mind if you are undertaking carved candle art:
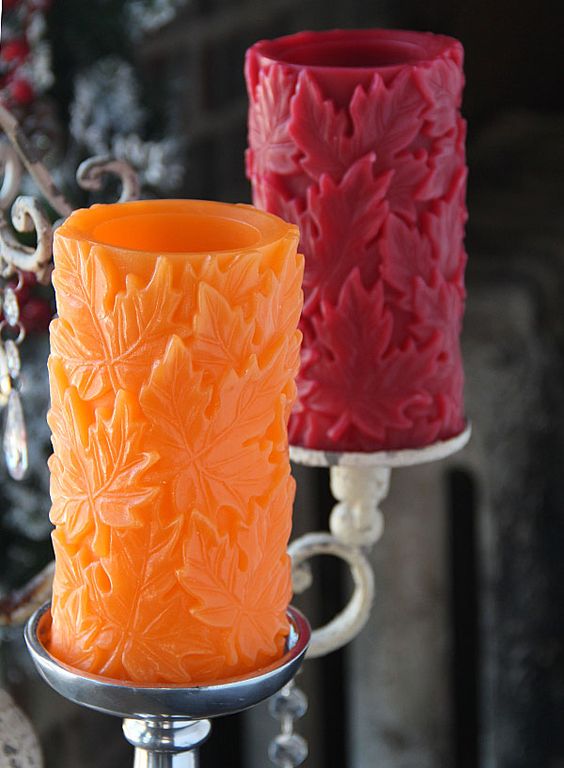
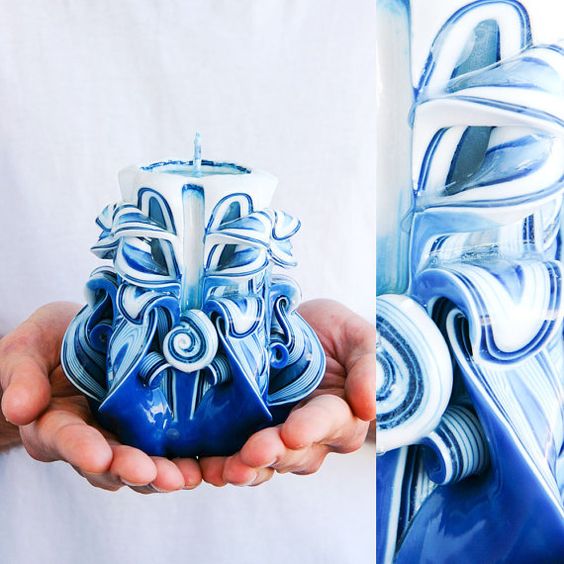
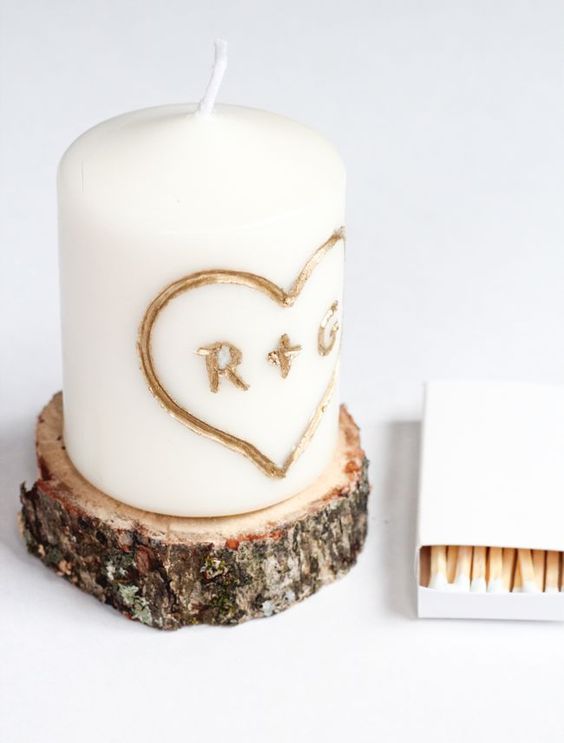
Start with a slightly bigger candle: Use a nicely shaped mold to make the candle while ensuring that it is also an interesting shape. This way you can be saved a lot of effort in coming up with the basic shape of the candle. Place the stiffened wick in the middle to ensure that is firmly fixed where it should be.


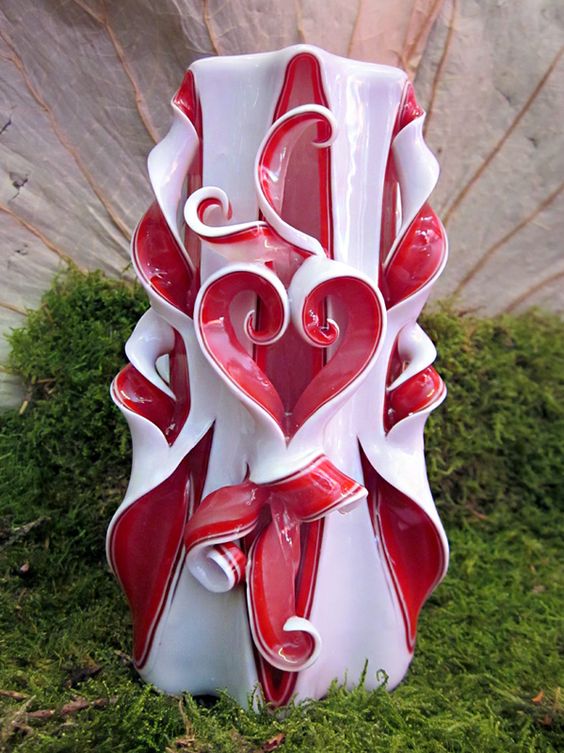
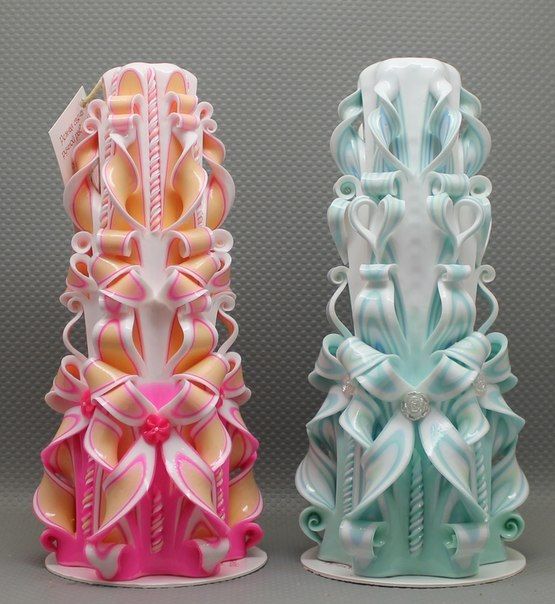
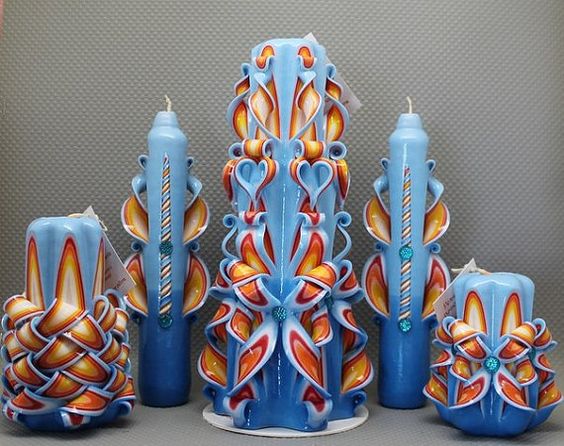
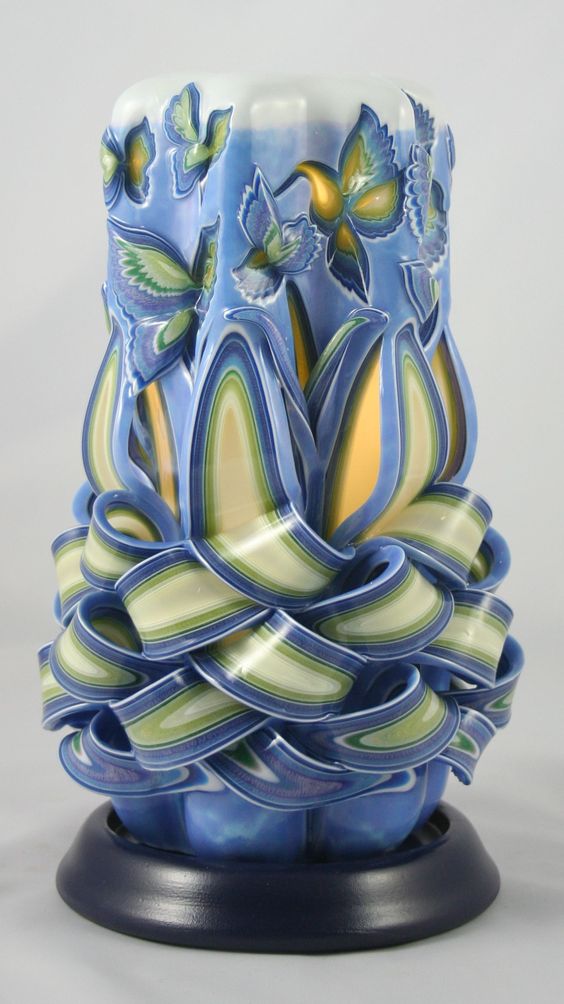
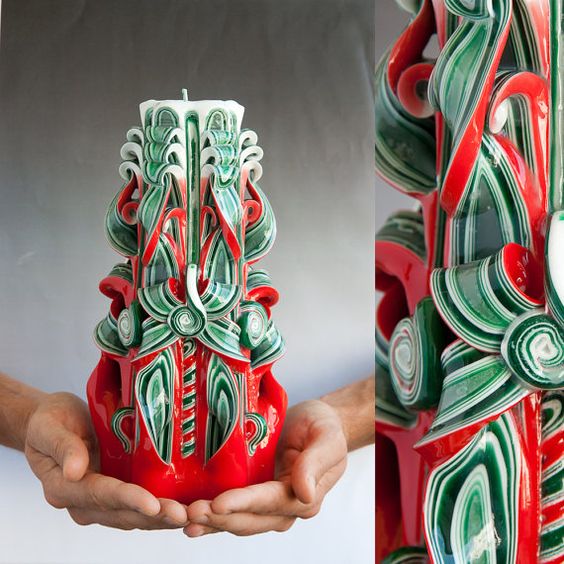
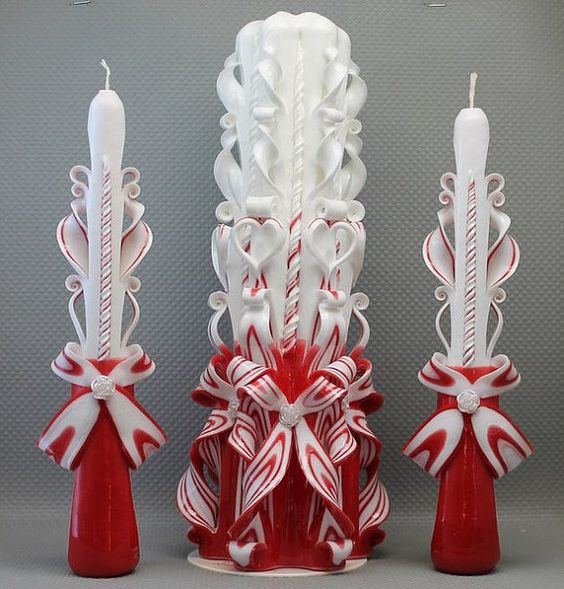
Layering it right: Once the candle is cast in the shape you want it to be in, you can start preparing the candle to have some subtle layering in terms of colors. You can do this by dipping the candle in different vats of colored wax, letting it dry and then dipping in another color. This will ensure that you have a candle that has many opaque layers of colors one under the other that will be revealed when you carve out your design. We would suggest that you pay attention to the way different colors are layered to ensure the kind of impact you want when the carving is completed.


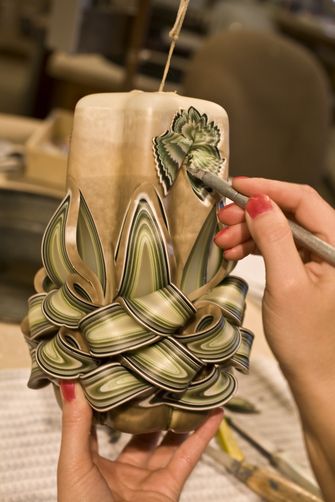
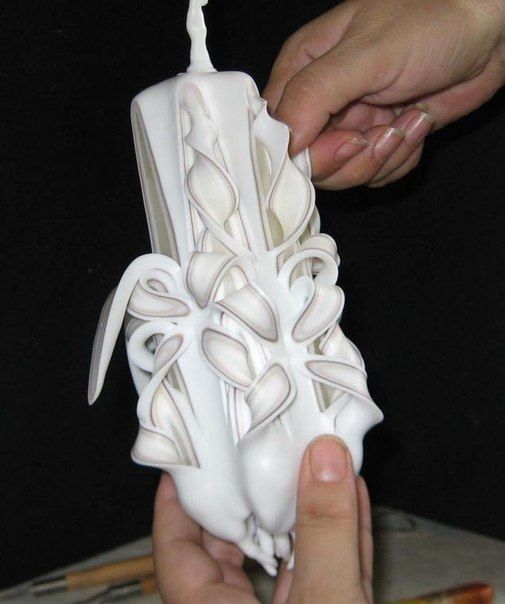
Start carving while the wax is warmer and softer: The carving of the candle has to be done when the wax is relatively soft but not too soft so that what you carve out holds its shape and does not become wobbly. The trick is often not to gouge out the bits of layered wax completely but to use the bits carved out to make shapes with. However, this need not be a hard and fast rule and in some places, you can gouge out some bits as required by the final design you are working towards.


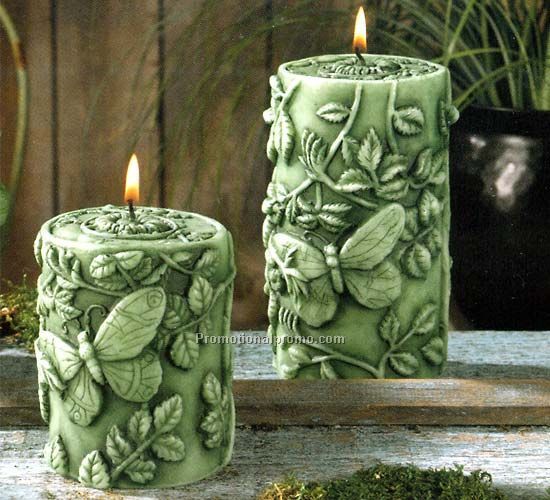
You can also add layers of fragrances in the wax at every level so that when you actually light your candle carving, it gives off layers of fragrances. This art is reminiscent of how we used to play with the melted wax that would result when we lit candles during power cuts in the days past but with a more skilled and serious attitude.
Bored Art.

While there is no doubt that carving any material even if it is soft, malleable and often forgiving like wax that is used in candles, you do need a steady hand and some skill to be able to carve. There is a definite skill and creativity element involved in the carving of candles. Though some may think of it as similar to the art of soap carving, which is perfect for beginners and they are not entirely wrong in thinking that way. In fact, it would be easy enough for you to make the whole process of carving simpler for yourself by applying some of the steps that we have recommended.
Here are some tips and steps that you need to keep in mind if you are undertaking carved candle art:
Start with a slightly bigger candle: Use a nicely shaped mold to make the candle while ensuring that it is also an interesting shape. This way you can be saved a lot of effort in coming up with the basic shape of the candle. Place the stiffened wick in the middle to ensure that is firmly fixed where it should be.


Layering it right: Once the candle is cast in the shape you want it to be in, you can start preparing the candle to have some subtle layering in terms of colors. You can do this by dipping the candle in different vats of colored wax, letting it dry and then dipping in another color. This will ensure that you have a candle that has many opaque layers of colors one under the other that will be revealed when you carve out your design. We would suggest that you pay attention to the way different colors are layered to ensure the kind of impact you want when the carving is completed.

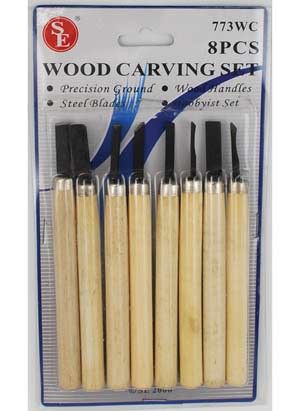
Start carving while the wax is warmer and softer: The carving of the candle has to be done when the wax is relatively soft but not too soft so that what you carve out holds its shape and does not become wobbly. The trick is often not to gouge out the bits of layered wax completely but to use the bits carved out to make shapes with. However, this need not be a hard and fast rule and in some places, you can gouge out some bits as required by the final design you are working towards.
You can also add layers of fragrances in the wax at every level so that when you actually light your candle carving, it gives off layers of fragrances. This art is reminiscent of how we used to play with the melted wax that would result when we lit candles during power cuts in the days past but with a more skilled and serious attitude.
Bored Art.
Carved Candle Art
4/
5
Oleh
Chandu Numerology


